Labels are features that are created to organize, locate, audit and add tweaks to your documents in your Google Workspace. It could be in Google Sheets, Docs or Drive.
Creating and printing labels may seem complicated but, in this article, I’ll show you how easy it is with the use of add-ons.
How To Make Labels In Google Docs
In this section, I’ll show you the steps required to make a label in Google Docs.
So let’s begin!
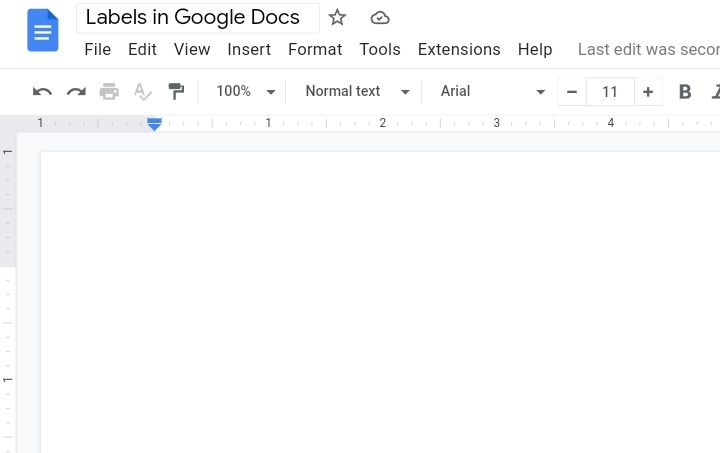
1. Start by opening an empty document in Google Docs. Do not enter any data into the document because it would be used to create the labels.
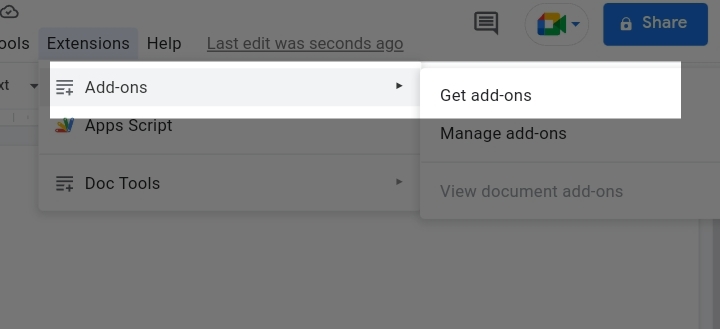
2. Open the Label Maker add-on. If you don’t have this add-on installed, go to Extensions on the toolbar. Select Add-ons from the list then click on Get Add-ons.
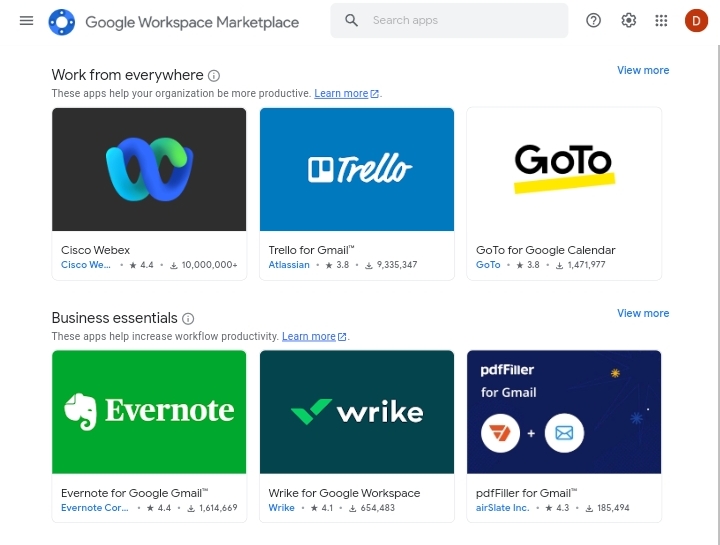
3. You’ll be redirected to the Google Workspace Marketplace where you can search and install the add-on.
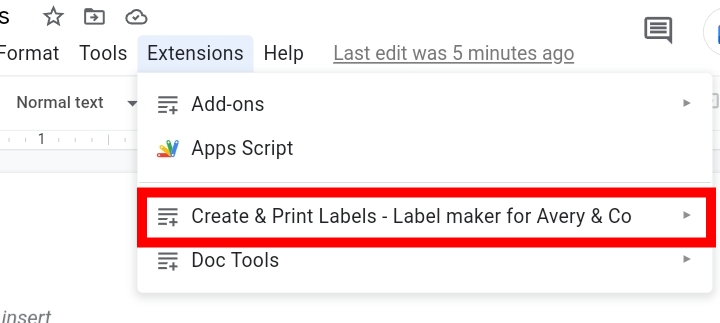
4. After installation, go to your document and open the add-on under the Extensions tab.
5. Click on ‘Select a template’ from the sidebar.
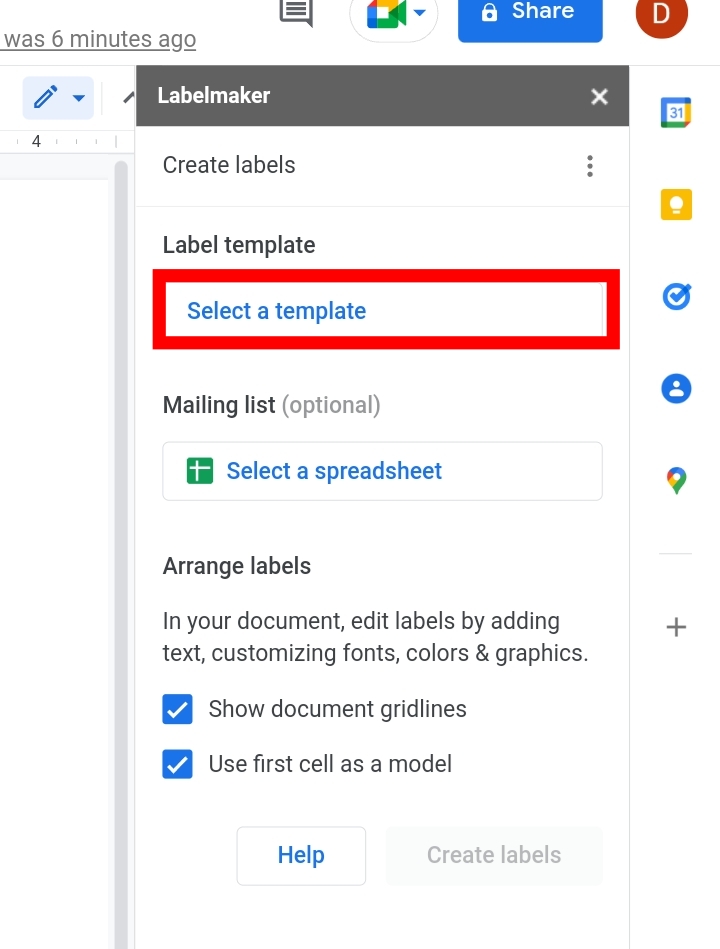
6. From the labels provided, select any one of your choices.
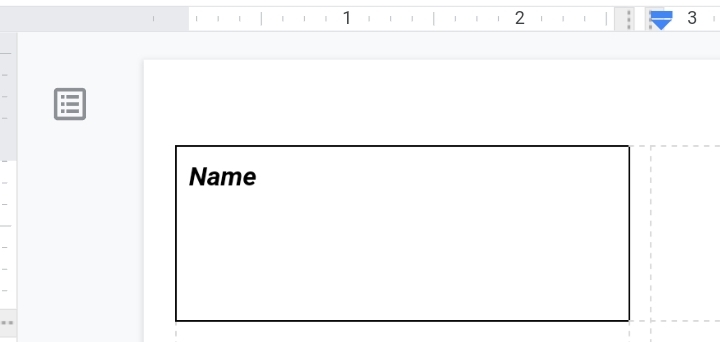
7. Go back to the document and enter a text and format into the first cell. The format would be applied to the other labels created. For example, Name.
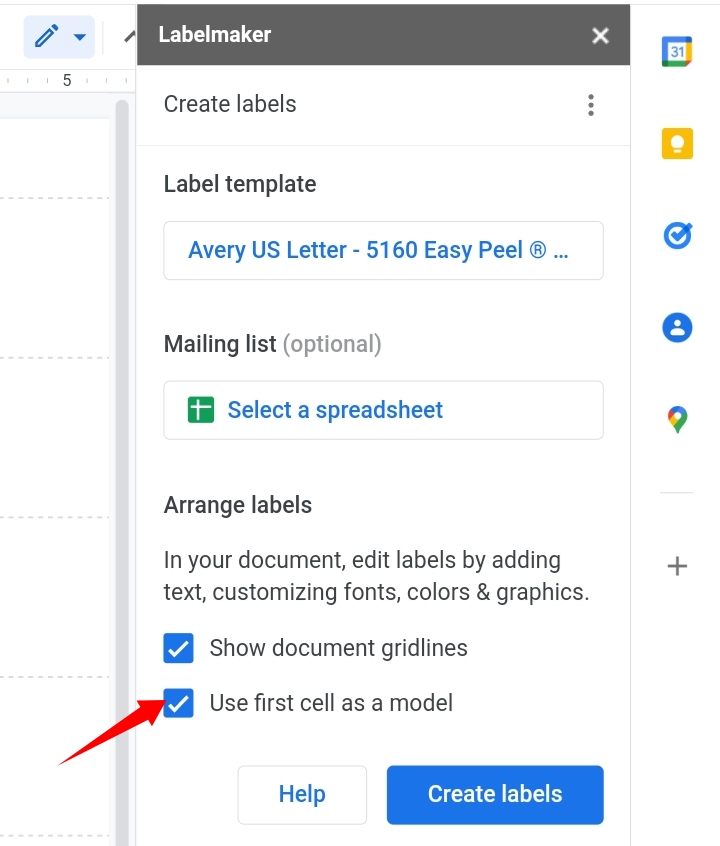
8. Click on the checkbox of “Use the first cell as model” to make the other cells replicated in the exact format.
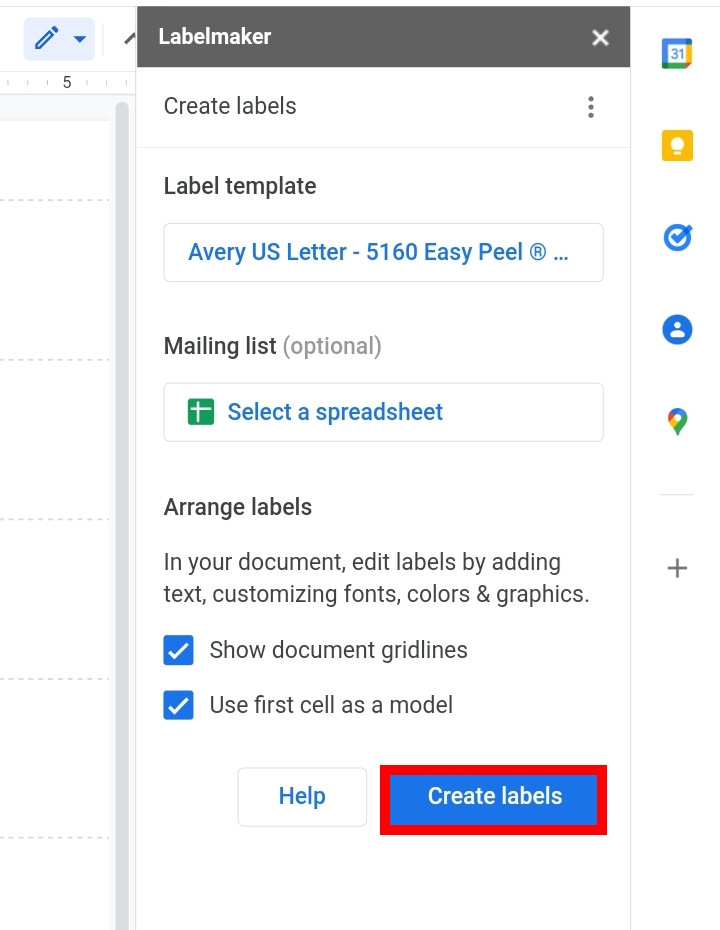
9. In the Label maker sidebar, select Create Labels.
10. Before printing, cross-check your labels to prevent errors.
Now that you’re done, you can print your document by going to file on the toolbar and selecting Print from the menu.
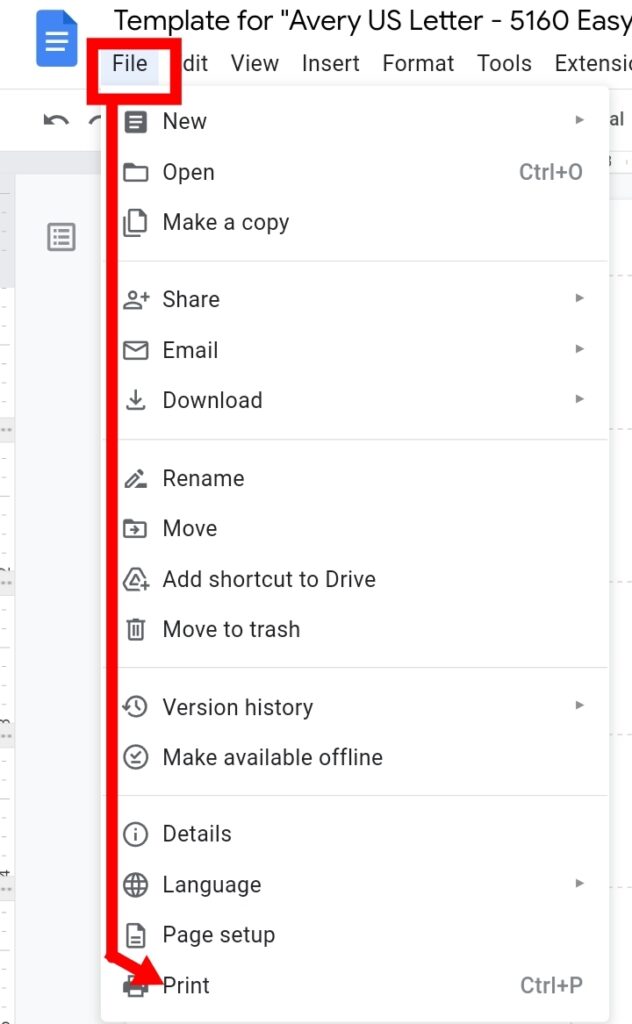
11. In the Print section, set the margin to none and the scale to 100%.
How do I make Address labels in Google Sheets?
This is done with the use of the Avery Labels Merge add-on.
1. Go to your worksheet and open the add-on under the Extensions tab.
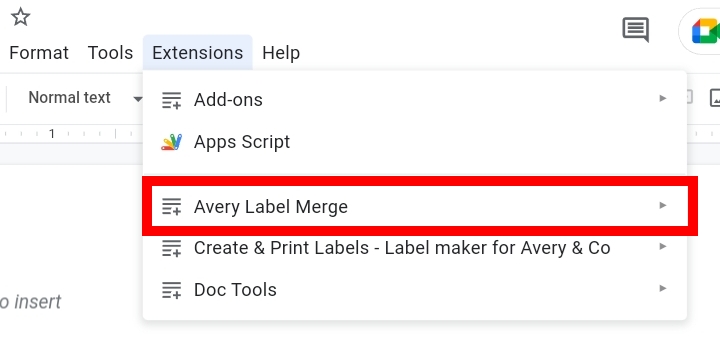
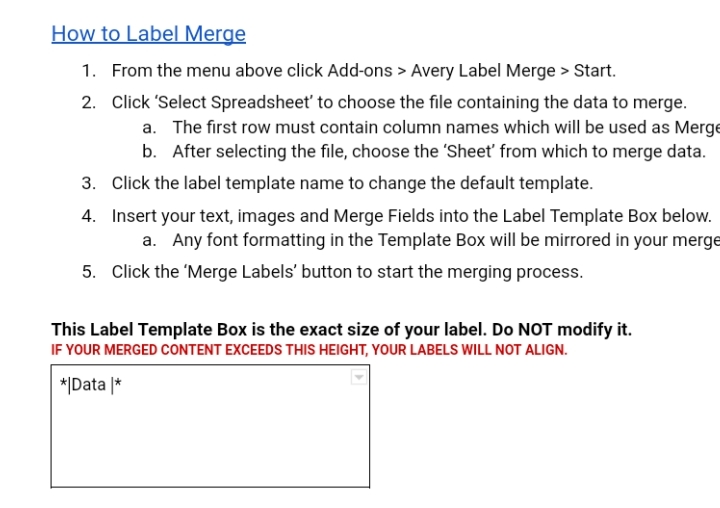
2. On the blank document, a few steps are stated here on how to merge labels. In the label box, enter *| Data |*.
3. Select the spreadsheet file, the Sheet from which to merge data and the Merge Field.
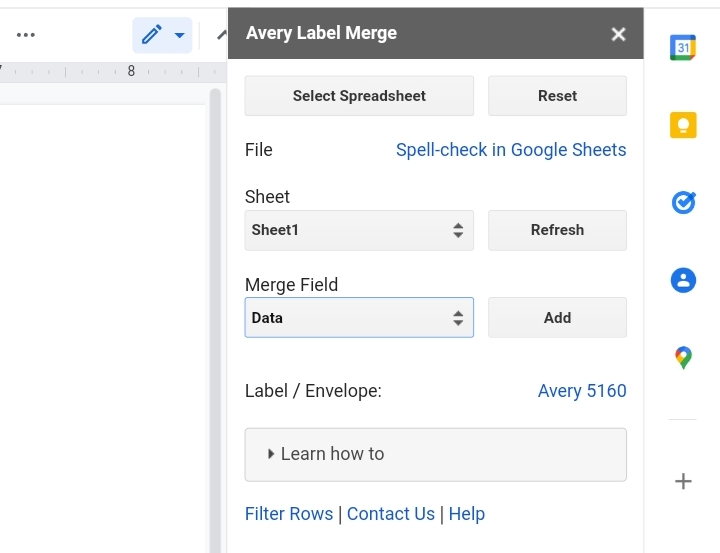
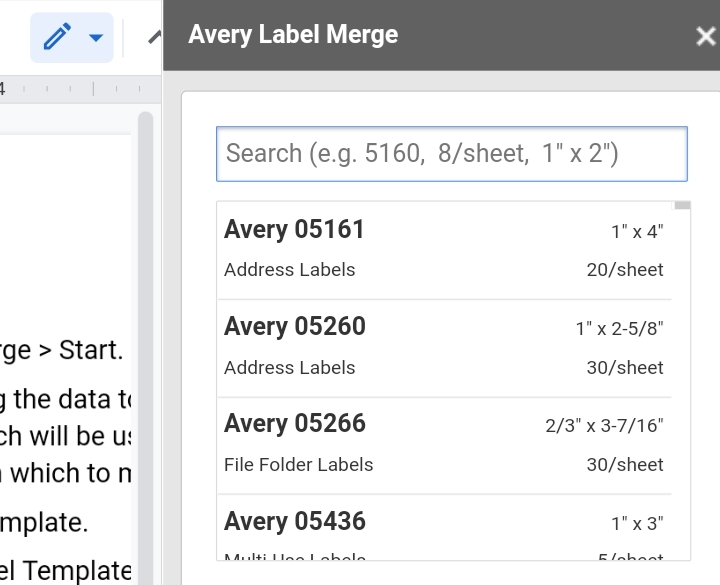
4. Also select the number of labels you want to use on the worksheet. For instance, I selected the 5160 Avery Label, with 30 labels per sheet.
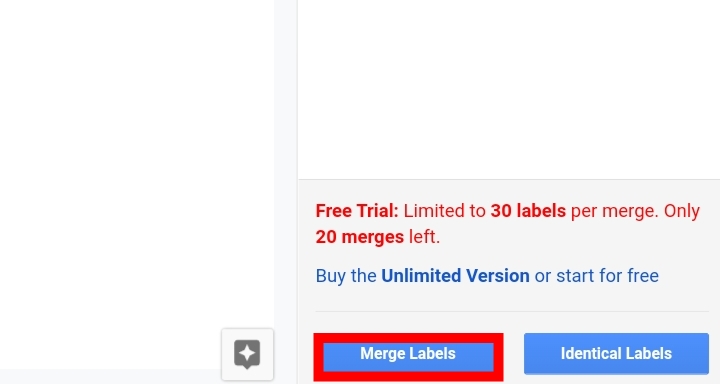
5. Click on Merge Labels.
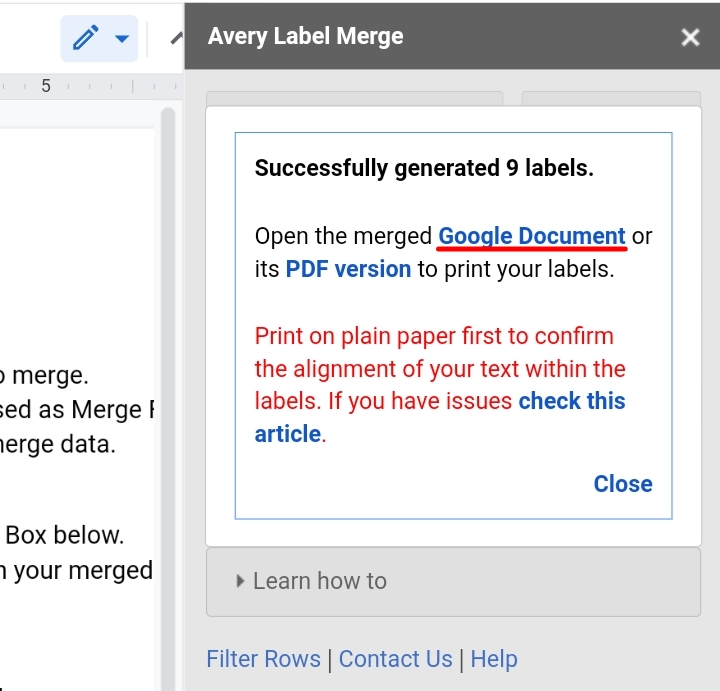
6. To view the merged document, click on Google Document.
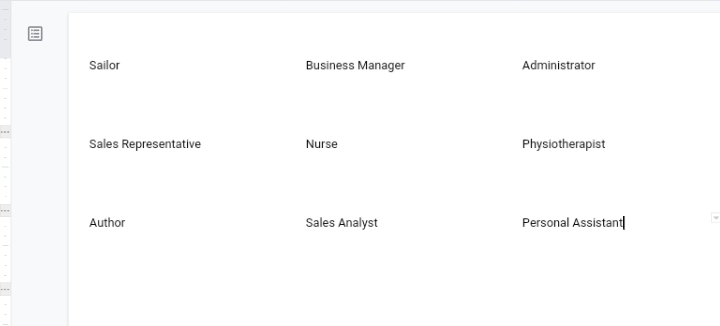
7. It merges the content of the worksheet as address labels.
Can you do Avery Labels in Google Docs?
Yes, you can. In the section above, I successfully created an Avery label.
Can you print labels from Google Sheets?
Yes, you can. By following the steps below.
1. Open your existing worksheet with the data you want to use. Use the first row as the header row.
2. Open the Label Maker add-on after installing.
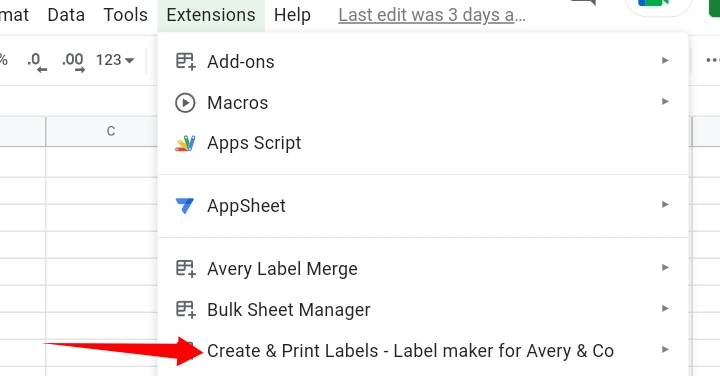
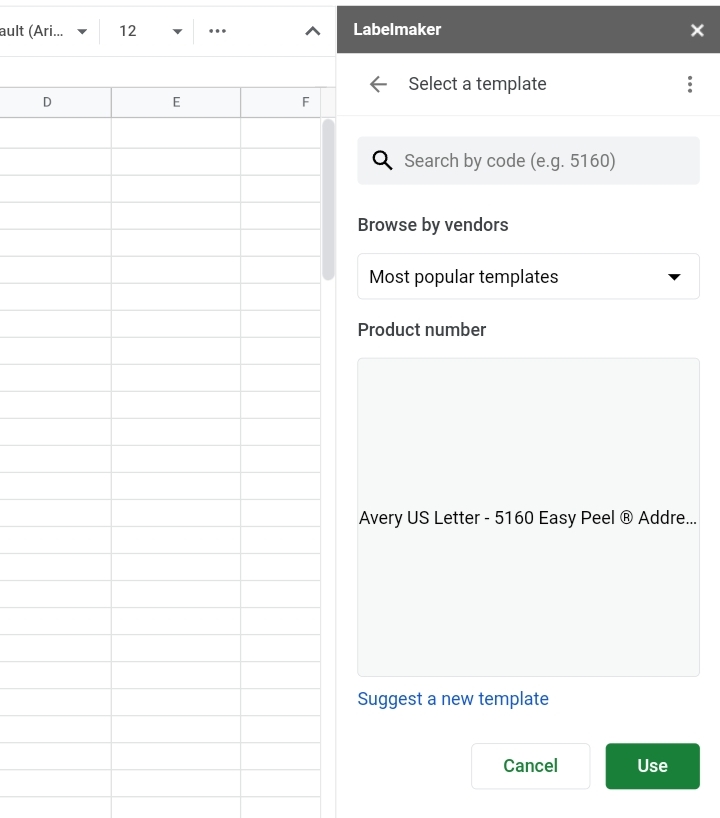
3. Click on ‘Select a template’ on the sidebar. Here, you select any of the available templates.
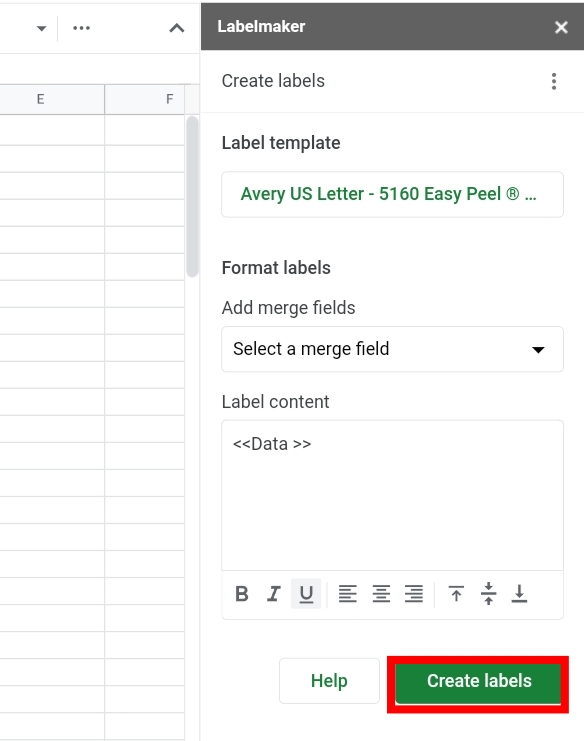
4. Select Create Labels. The labels are created in a new worksheet.
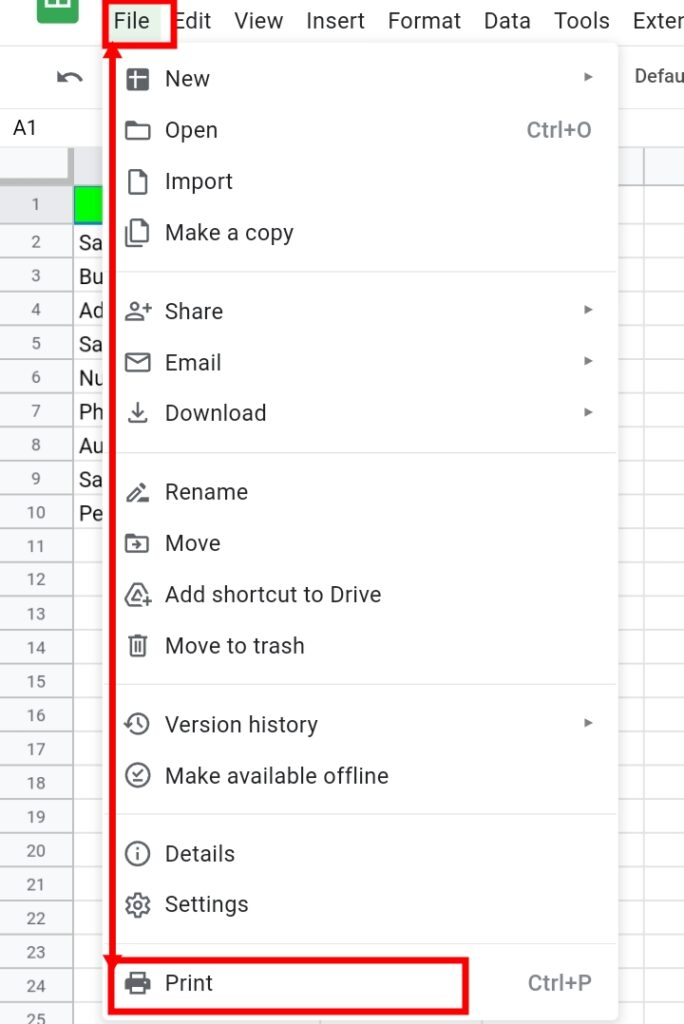
5. Go to the new worksheet and click on File, then click on Print.
6. In the Print settings, place the scale level to 100% and the margin to none.
Final Thoughts
This article has covered all you need to know about creating labels in Google Docs.


