Have you ever wondered how to take a screenshot on your Toshiba laptop?
You’re in luck! Taking screenshots is easy, and we have all the information you need right here. We’ll show you exactly what buttons to press, where they are located and give some helpful tips for taking better screenshots.
This article will cover everything from basic screen captures to more advanced techniques like cropping and annotating images. And don’t worry – most of these methods work with any Windows computer.
So let’s go to learn how to screenshot on Toshiba today!
Method 1: Take Screenshot Via Snipping Tool
Windows has a built-in tool for taking screenshots, known as the “Snipping Tool”. The Snipping Tool allows users to capture screenshots of windows, objects, full-screen applications in different shapes. Let’s go to know how to take screenshots via Snipping Tool.
Step 1: Type the Snipping Tool on the search box. You will find the search box in the bottom-left corner of your screen.

Step 2: Click on the Snipping Tool. The new windows will appear.

Step 3: Click on the New option.

Step 4: Click and drag the place you wish to capture, then let go of the mouse button.

Step 5: Click on the Save button and choose a location you want to save this screenshot. And that’s it. Congratulations, you successfully do it.

Method 2: Using Keyboard Shortcut
This is an easy way to take Screenshots. Just press the keyboard shortcut. How can you do that? So, let’s go to check the second and easiest way.
Step 1: Open the screen you wish to capture.

Step 2: Press Windows Logo Key + Prtsc at the same time. It will take a screenshot of the screen automatically and save it on your computer.
Note: If you don’t have a Prtsc key on your Toshiba laptop or this windows Logo Key + Prtsc doesn’t work, then try FN + Windows logo key + End/PrtSc to take a screenshot.

Step 3: Then go to the Pictures > Screenshot Folder. You will see the screenshot.

Method 3: Take Screenshot By Microsoft Paint
In method 3, we talk about how to screenshot on Toshiba using Microsoft Paint. It is a built-in tool. It is not very difficult to use. I will guide you step by step. Let’s start:
Step 1: Type the Paint on the search box. You will find the search box in the bottom-left corner of your screen.

Step 2: Click the Paint option. It will appear in a new window.

Step 3: Open the screen you wish to capture and press Prtsc (Or End Key). Your clipboard saves the screenshot.

Step 4: Go to the paint and click the Paste option (or press Ctrl+V) to paste your screenshot.

Step 5: To resize or crop the screenshot, select Resize or Crop from the menu. For Crop, first, click on the select option and select the part that you want.

Step 6: Finally, click the File > Save and choose a location to save this screenshot.

Method 4: Take a Screenshot of a Toshiba using Snagit
Snagit is a software that uses for taking screenshots and much more. If the top 3 methods is not working for your device, you should use this method. This method is very simple and easy. So let’s go:
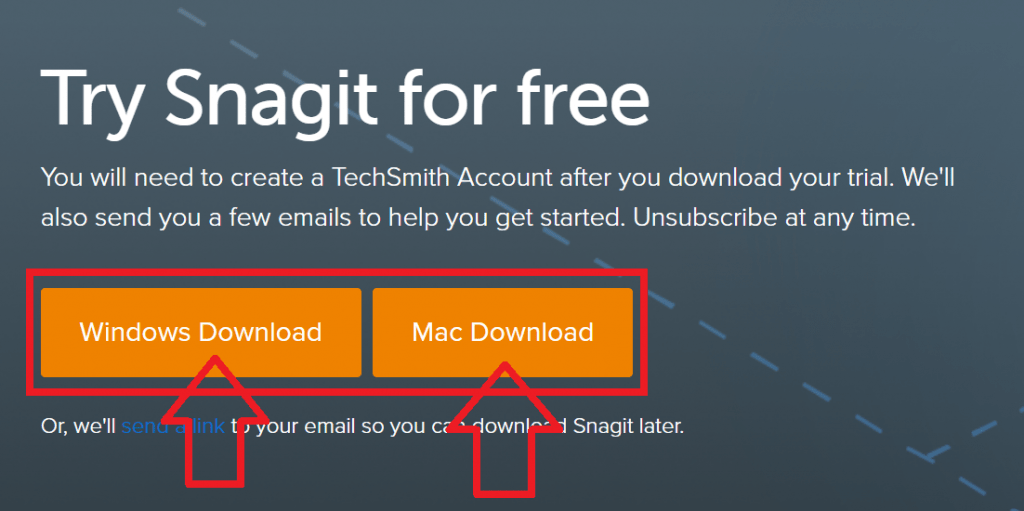
Step 1: Download and Install Sangit on your Toshiba laptop.

Step 2: Open the app and sign in. Then click the Capture option.

Step 3: Click and select the place you wish to capture.
Step 4: Then, Click the Camera option, and your screenshot will show instantly on Snagit’s Editing page.
Step 5: Now, you can edit your screenshot through the editor.
Step 6: Click the Save option to save the screenshot.
Check out does your computer have Bluetooth.
Final Thoughts
We can help you figure out how to screenshot on Toshiba Laptop. Have you tried any of these techniques?
We hope that this blog post has helped you learn about all things related to taking screenshots on a Toshiba computer, including some tips for getting it done quickly and easily.
It’s important to know how to take screenshots if there is ever an issue with your device or if someone asks for proof of something. We want our readers always prepared!
If all of this sounds intimidating and you’re looking for more information, please feel free to contact us or comment below. We always love to see your feedback.


