As a frequent spreadsheet user, you may often enter data into a cell and the column doesn’t adjust to the length of the entered text.
The column may be too large or too slim. This makes your data difficult to read or less appealing.
Of course, you can always adjust the column manually but what if I told you that your column can auto-fit your data perfectly without you having to go through the trouble of adjusting the column’s size by yourself.
The auto-fit feature ensures that your data fits perfectly into the column without stray spaces or overflowing into other cells on your worksheet.
In this guide, I’ll show you How To Autofit Column Width In Google Sheets so that you can access all full benefits on your worksheet.
Autofit Column Width with Double Click.
This is the fastest and easiest way to autofit a column’s width. To do this, you need to follow the steps below.
Step 1: Click on the column that you want to be adjusted.
Step 2: Hover the cursor on the right corner of the column title. The cursor turns into a cross-like arrow.
Step 3: Double-click your mouse
This would automatically fit the column size according to the length of the text. Auto-fit uses the width of the cell with the longest text. This might make the cell look wide.
You can also use this method to autofit multiple cells. To do this, you need to follow the steps below.
Step 1: Click on the gray box in the top left corner to select all the columns in the worksheet.
Step 2: Hover the cursor on the right corner of the column title. The cursor turns into a cross-like arrow.
Step 3: Double-click on your mouse. This would auto-fit all the columns at once.
Autofit Column Width with ‘Fit to Data’ Option.
If you don’t fancy the first method, then this method might be good for you.
In the worksheet below, we have some texts in the cells of column A. I would show you how to auto-fit by using the fit to data option.
This is done by following the steps stated below.
Step 1: Select the column by clicking on the column name below the toolbar.

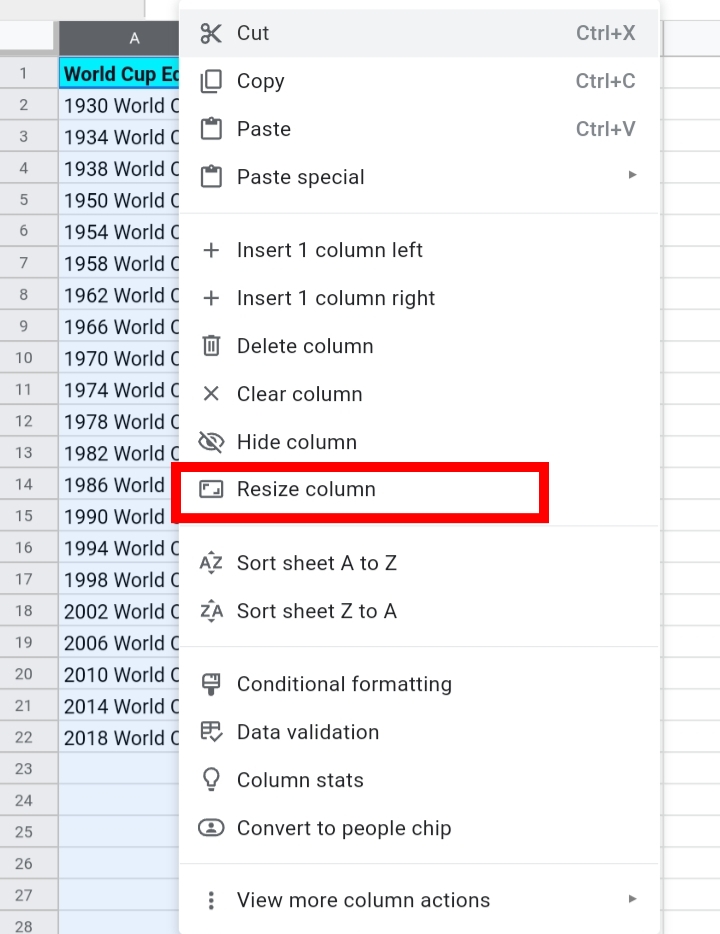
Step 2: Right-click on the selected column and select Resize Column from the list of options provided.
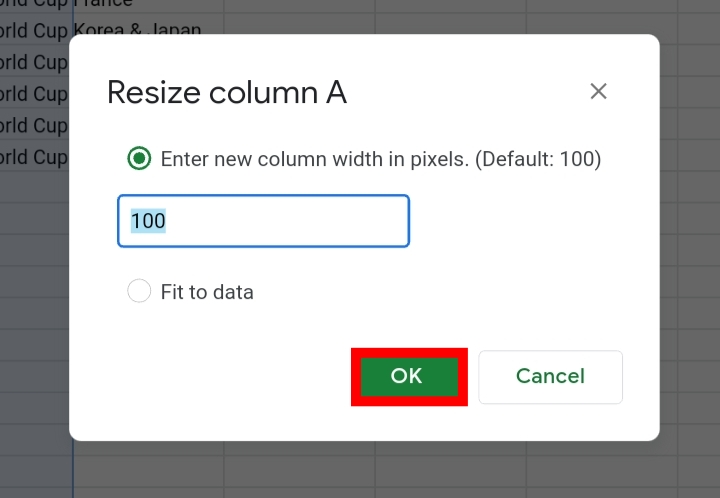
Step 3: The resize column tab is opened. Here, you can adjust the size manually by inputting the number of pixels needed. But, in this case, I selected Fit to Data.

Step 4: Click on OK.
These steps would auto-fit the column according to the length of the longest cell.
How To Auto-fit Columns To Headers In Google Sheets.
To autofit header rows, you would need the “Fit to Data” option. This is helpful in a vase where you have titles that are too long to fit into the header row.
So, you adjust the entire column to contain the headers.
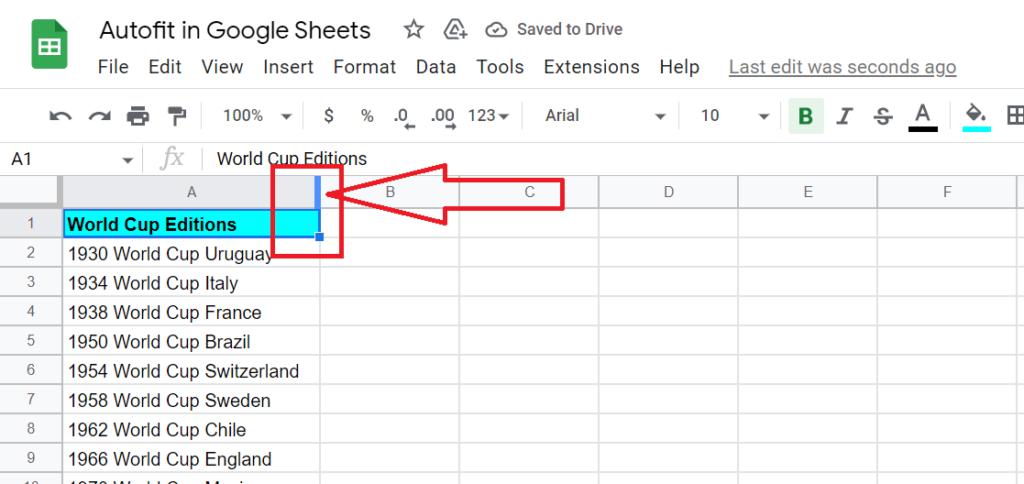
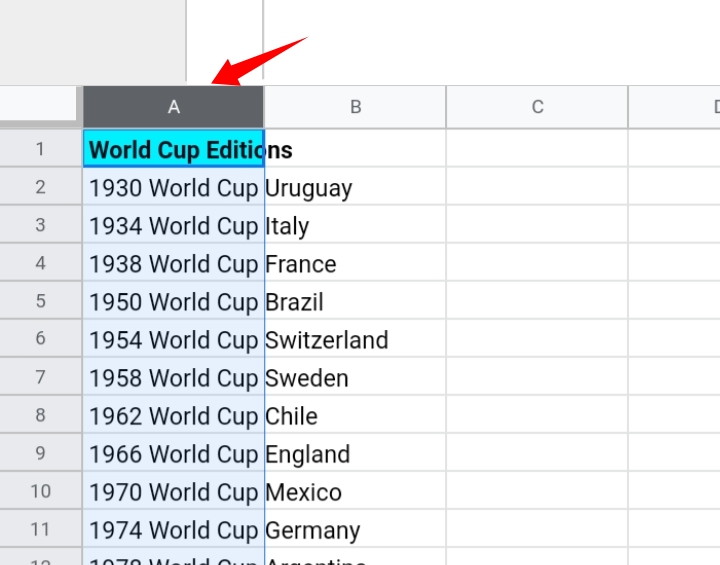
In the sample worksheet below, we have the title of column A overflowing to column B. I would like the headers contained perfectly in the header row.

To do this, you need to follow the steps stated below.
Step 1: Select the column by clicking on the column name below the toolbar.
Step 2: Right-click on the selected column and select Resize Column from the list of options provided.

Step 3: The resize column tab is opened. Here, you can adjust the size manually by inputting the number of pixels needed. But, in this case, I selected Fit to Data.
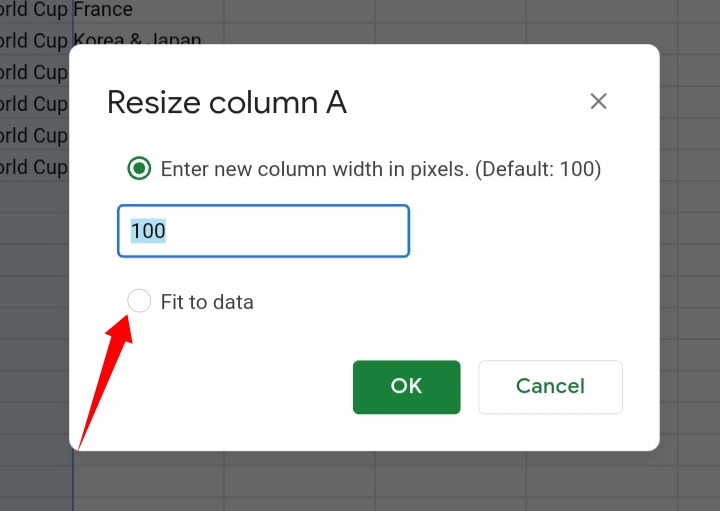
Step 4: Click on OK.

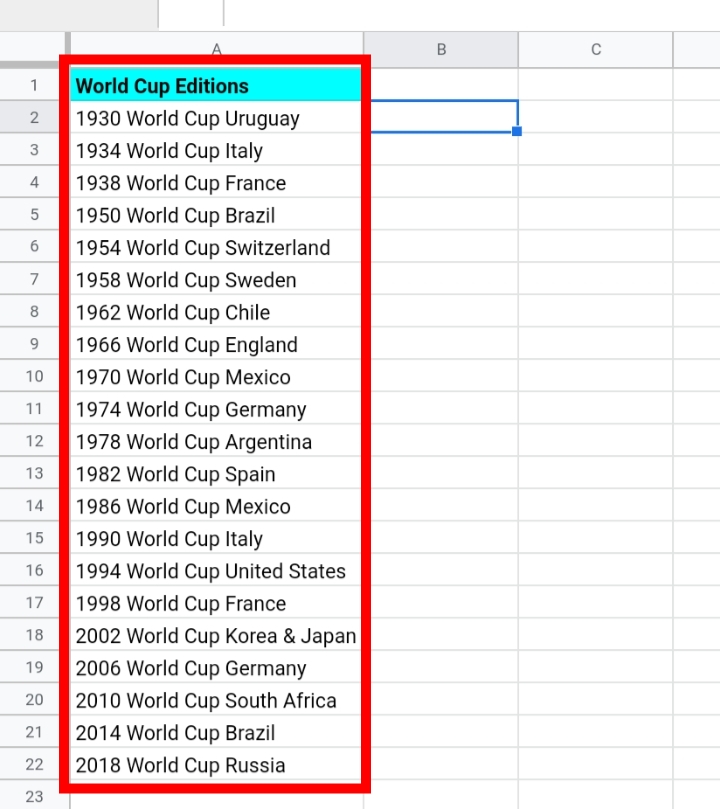
Column A resizes to fit the lengthy header, which makes the column wider than the average column size.
AutoFit Vs Wrap Text
Autofit and Text Wrap in google sheets are somewhat similar but are also very different.
- Autofit enables you to increase or decrease the column’s width according to the length of the longest cell. As a result, the column would become very large due to the length of the text string.
- Text Wrap allows you to break down long text strings using line breaks to form a paragraph in the cell.
When auto-fit and text wrap is used in a single column, the following occurs.
- The entered text string is divided into line breaks to prevent overflowing to other cells.
- If the text overflows into the next cell, the auto-fit makes the column wider to accommodate the entered text. This ensures that there is no stray space between the text and the cell.
Final Thoughts
These are how you can auto-fit a column’s width in Google Sheets. If you also want to auto-fit and adjust rows in your worksheet, you can use the methods discussed in this tutorial.
These methods are super-efficient and are great time savers. If you have a favorite method based on your dexterity in Google Sheets, let me know.
Now you know How To Autofit Column Width In Google Sheets. I hope you found this guide informative. Thanks for reading.


